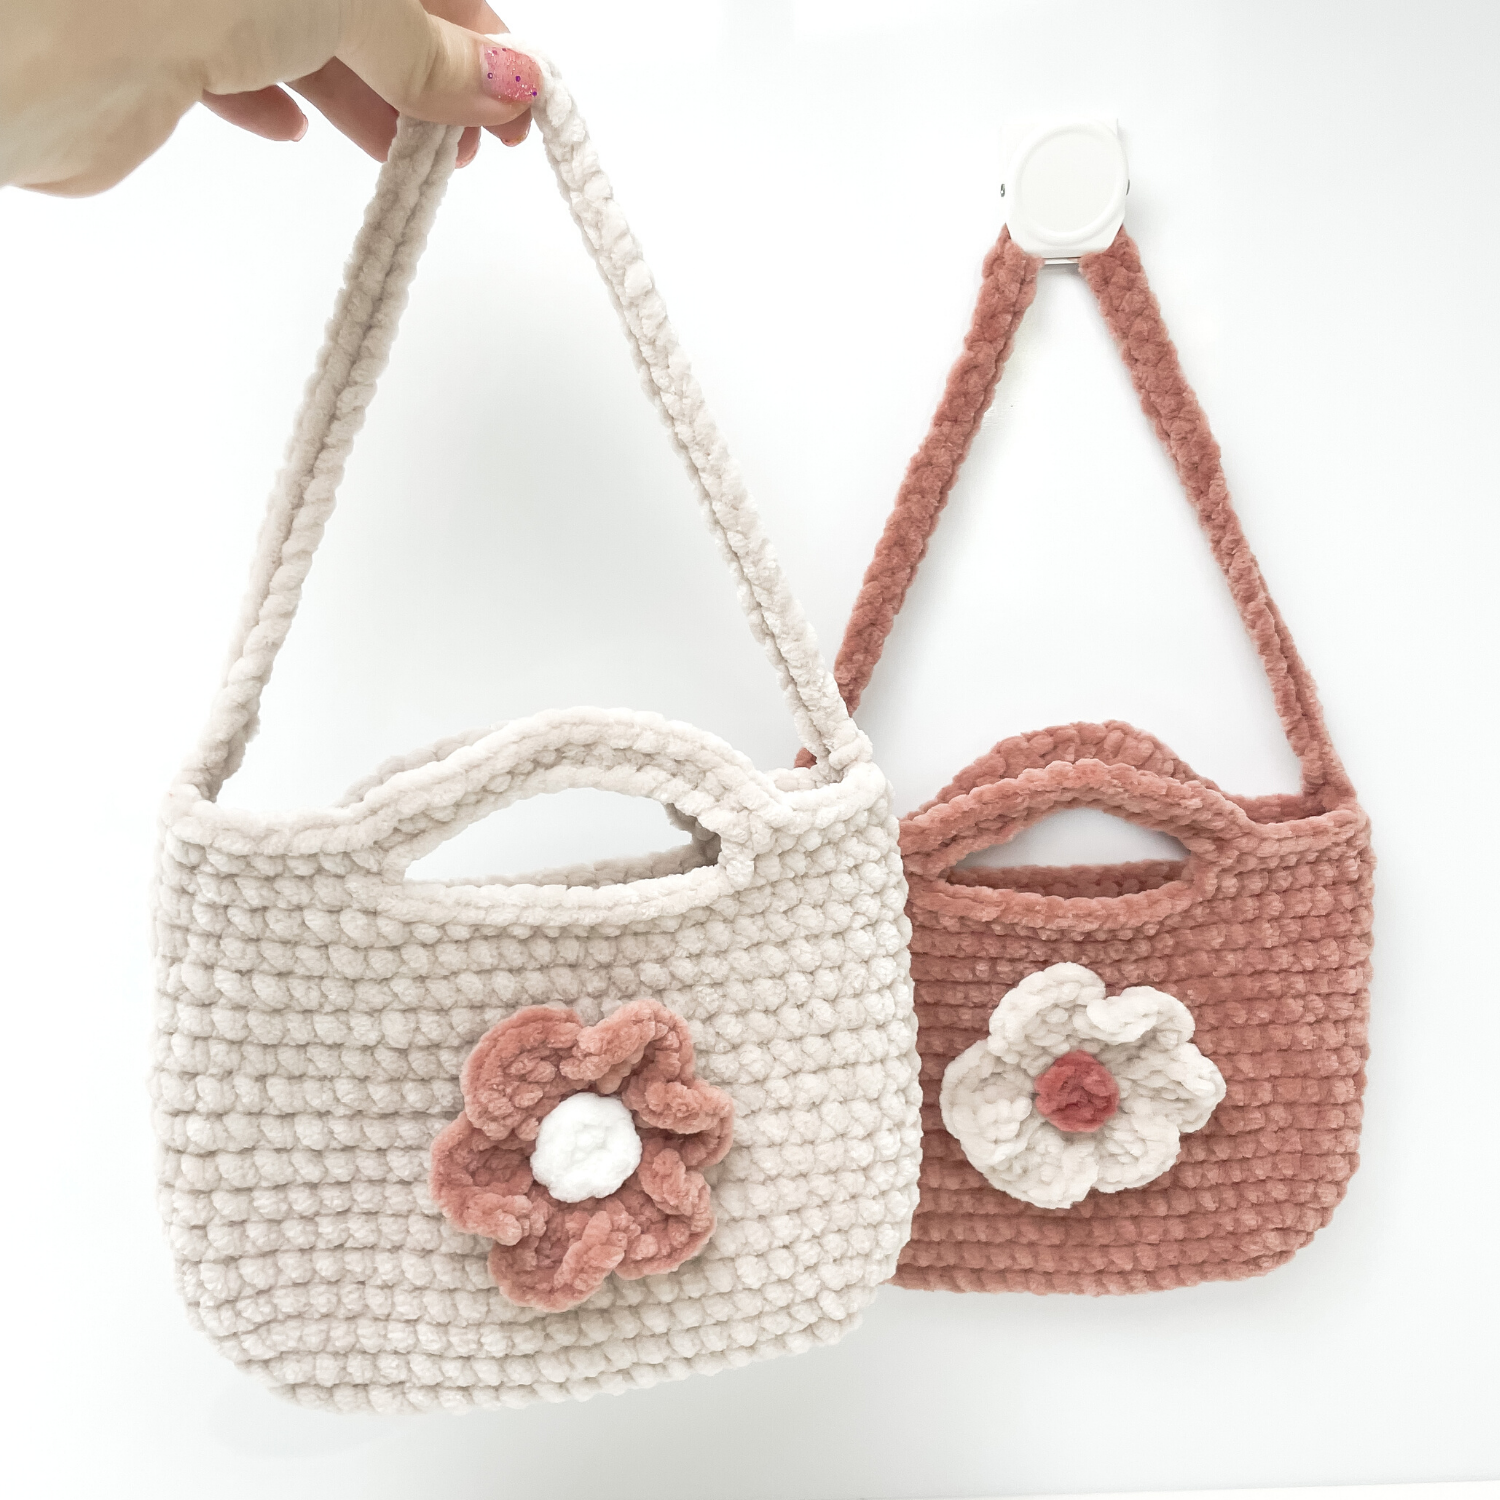
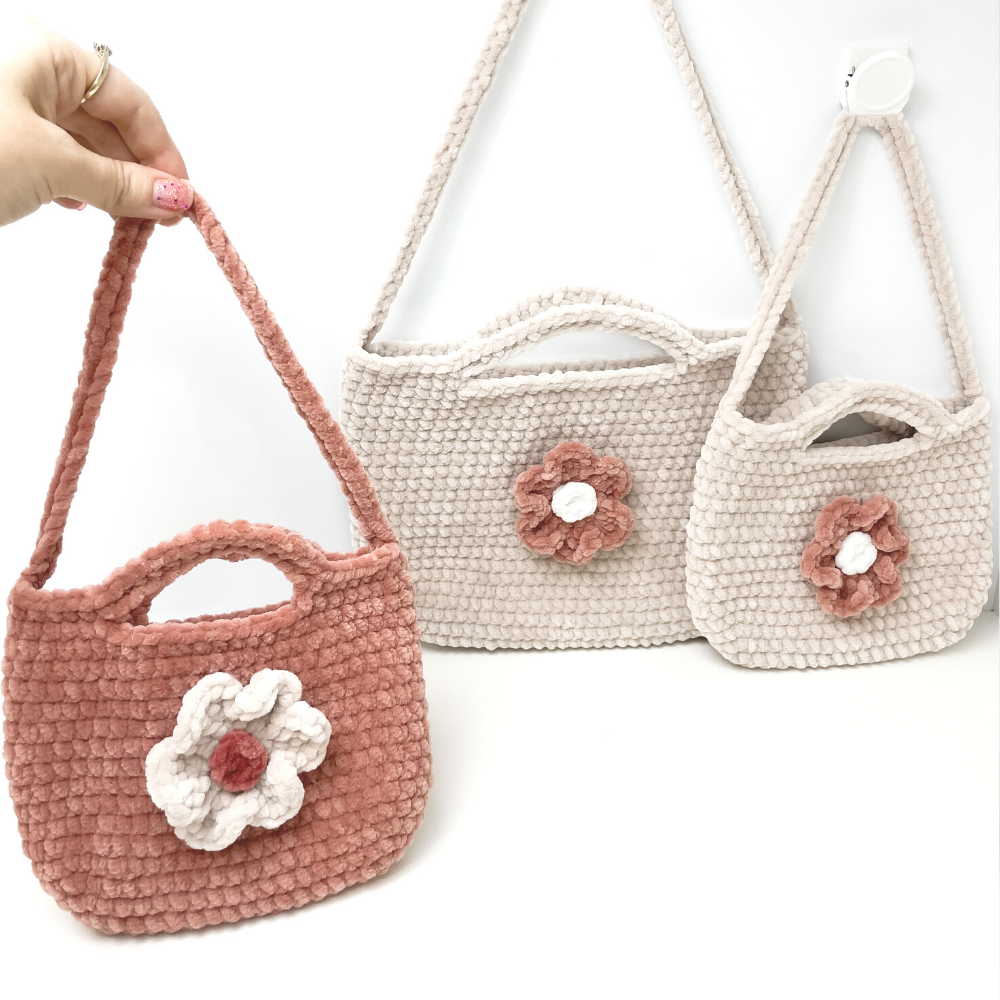
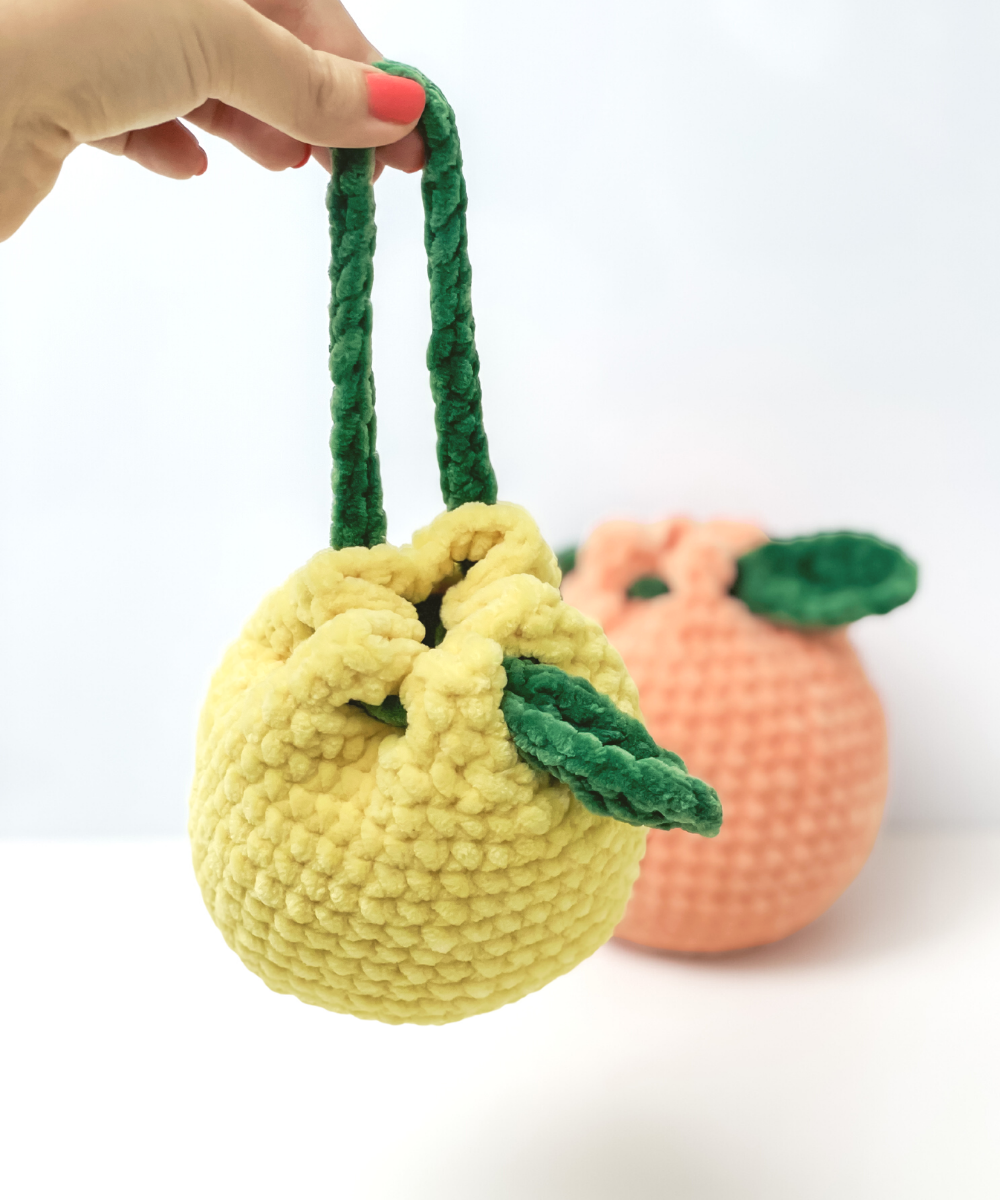
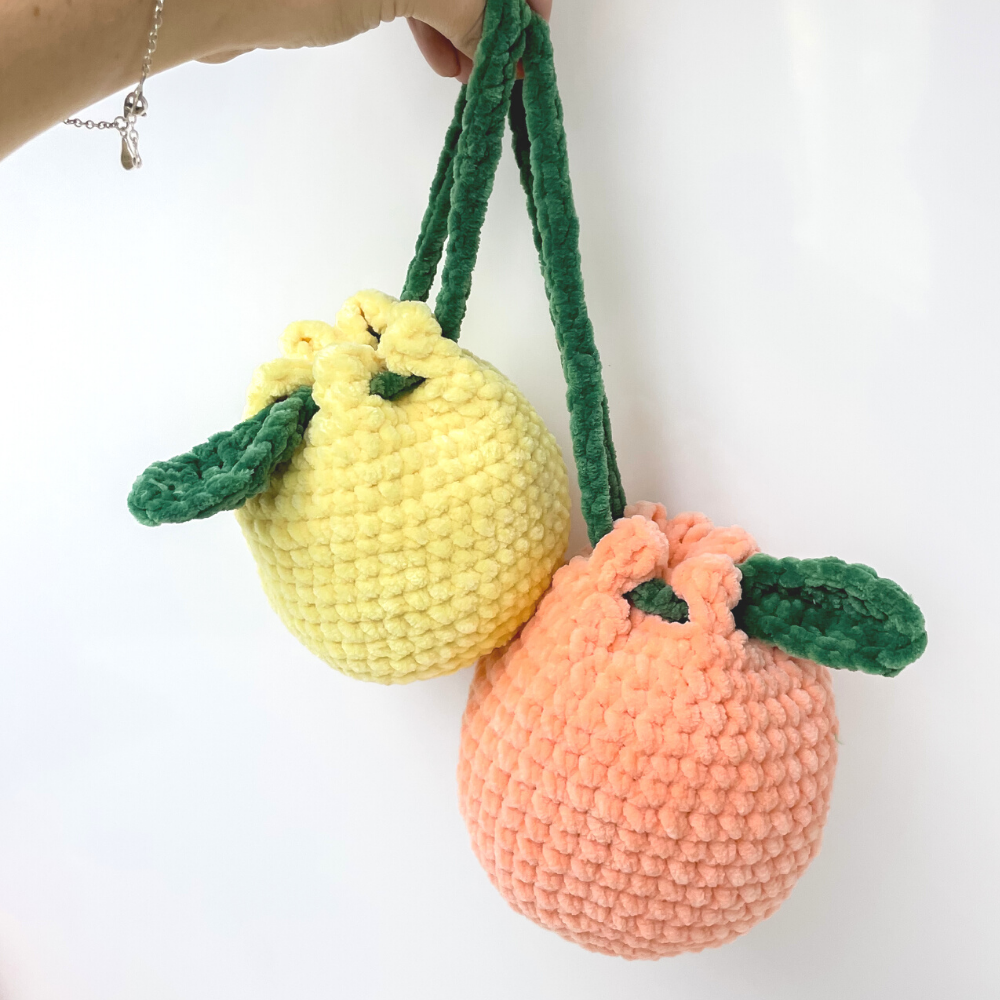
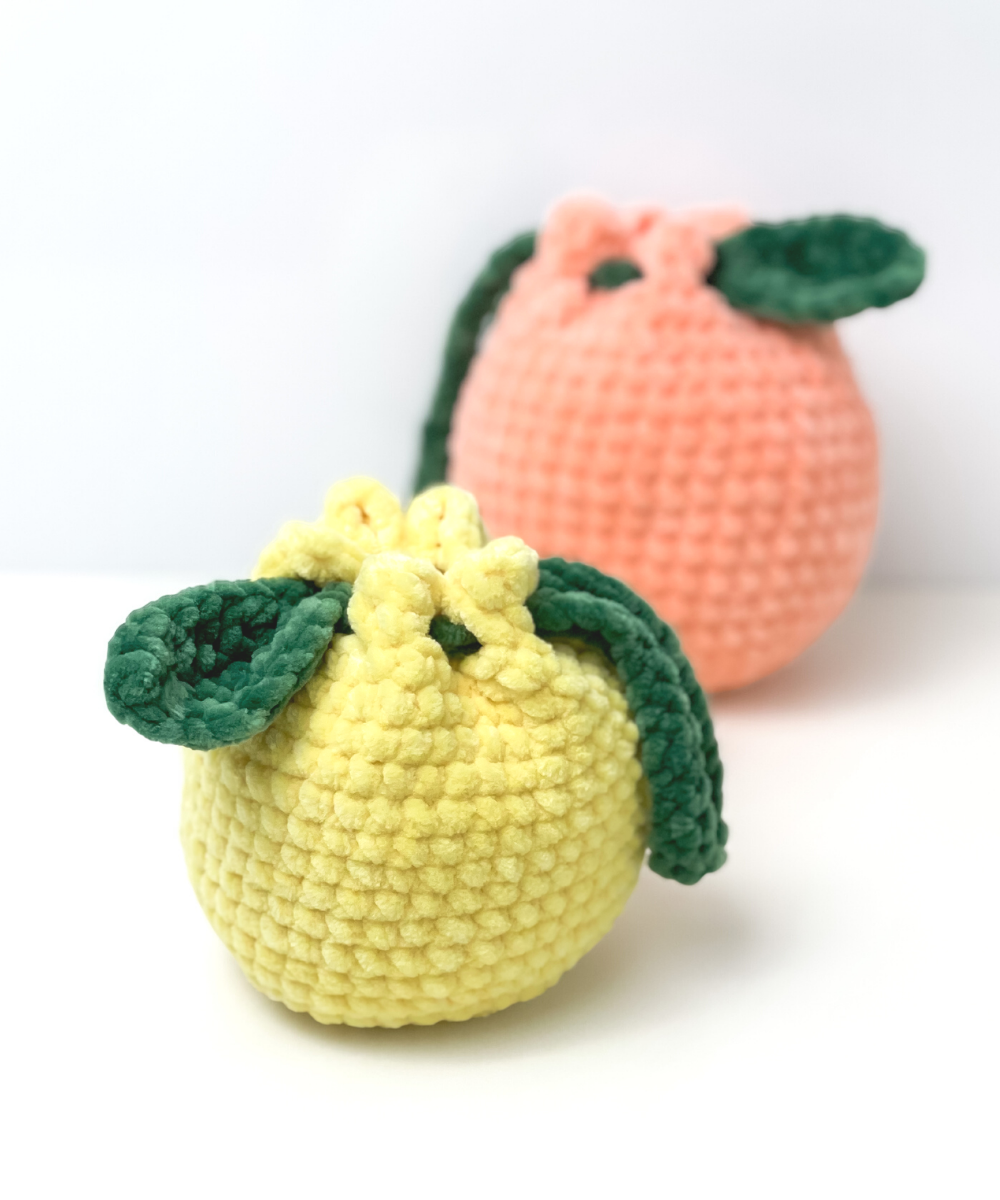
This is a crochet pattern to make this adorable plush bag - a larger version of the original bag. The bag itself is no-sew, as it' s crocheted all in one piece! The optional flower has a small amount of sewing to attach to the bag.
You can find the original (smaller) version of the bag here.
This bag (using Hobbii Baby Snuggle) measures at about 30cm x 30cm (12 inch x 12 inch) including the small handles. If you use thicker yarn and a bigger hook, it would be larger.
Yarn used
Hobbii Baby Snuggle
- Soft sand- Powder pink
Other Items used
- US G/4.25mm Crochet Hook (or a hook to match the yarn you're using)
- Yarn needle- Stitch markers -optional
Abbreviations and stitches
• MR: Magic ring• St(s): Stitch(es)
• SC: Single crochet
• Sl St: Slip Stitch
• Sk: Skip a stitch
• DC: Double Crochet
• HDC: Half Double Crochet
• Inc: Increase (Stitch 2 SC into the stitch)
• (...) x n: Repeat instructions in brackets n times
**This pattern uses US Crochet Terms**

Pattern
Ch 27
R1: In 2nd ch from hook: 1 SC (mark this st),
24 SC back along ch
3 SC in last ch
Underside: 24SC, inc, sl st to 1st SC (mark this st - it’s the end of the round) (54)
(Next round starts after sl st)
R2: (24 SC, 3 inc) x 2 (60)
R3: (24 SC, [SC, inc] x 3) X 2 (66)
R4: (24 SC, [2SC, inc] x 3) x 2 (72)
R5-22: 72 SC (18 rounds of 72)
(Add more rounds here if you’d like the bag taller)
Make one or two SC if necessary (or remove one or two SC), to get to the side of bag
Don't close. Continue straight to short straps.
Short straps
R23: 10SC, ch 20, sk 16, 20SC, ch 20, sk 16, 10SC (80)R24: 10SC, 20SC in ch, 20SC, 20SC in ch, 10SC (80)
Make one or two SC if necessary (or remove one or two SC), to get to the side of bag.
Don't close. Continue straight to long strap.
Long strap
Ch 70 (or more) for long strapSl st to opposite side of bag, sl st into next st on bag to secure
Sl st back along ch
Sl st into next st on bag
Close and weave in ends
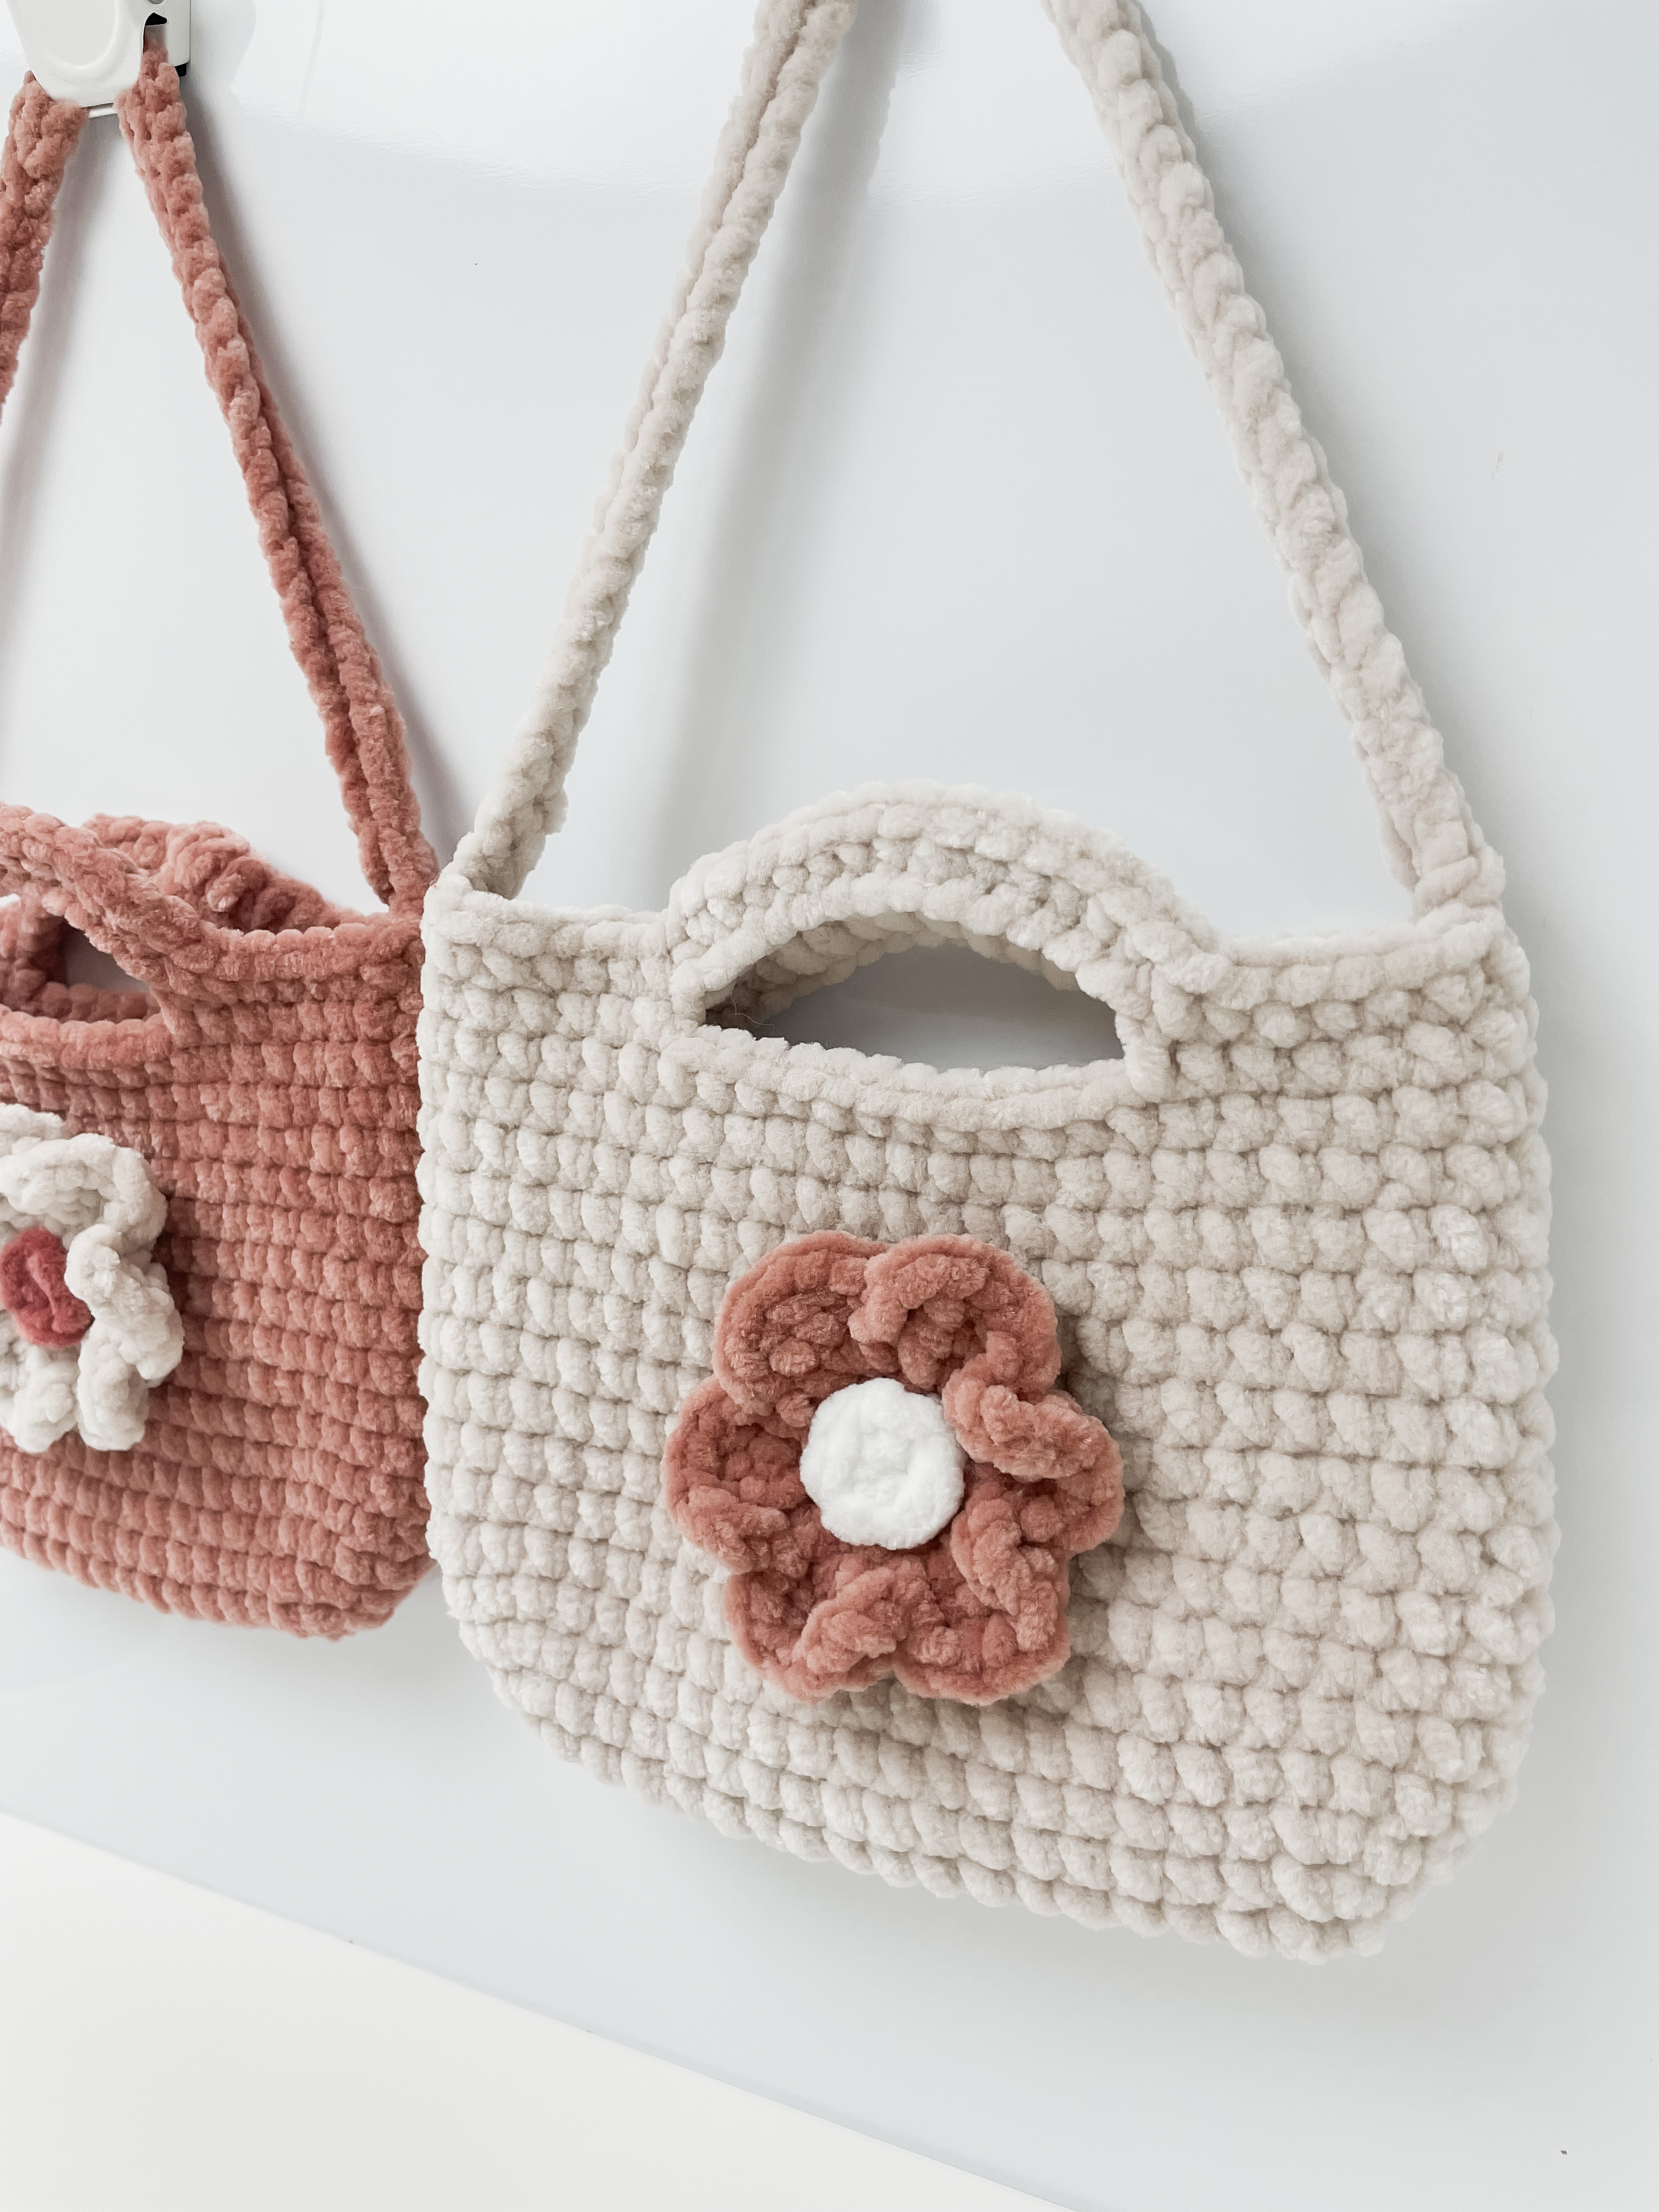
Flower (optional)
Flower base and petals
R1: Ch 3, sl st to 1st ch to form a ringR2: Into centre of ring: Ch 2 (counts as 1st HDC), 11 HDC, sl st to top of ch 2 (12 HDC)
R3: Ch 2, 3 DC in same st, ch 2, sl st in next st,
(ch 2, 3 DC in next st, ch 2, sl st in next st) x 11,
Sl st to bottom of first st made
Close and cut the yarn, leaving a tail for sewing on to the bag.
Bring the ending tail around to the back of the flower and tie together with starting tail.
Flower centre
Using a different colour from the base and petals:Close the cut the yarn, leaving a tail for sewing on to the flower base.